First, though, to the theater. Things have been fine, if busy. This past week was tech week, leading up to Friday's opening night for 9 to 5. That meant a lot of last minute painting and props and very little actual watching runs, unfortunately. Hopefully, the run went well- I'll have to find out on Monday.
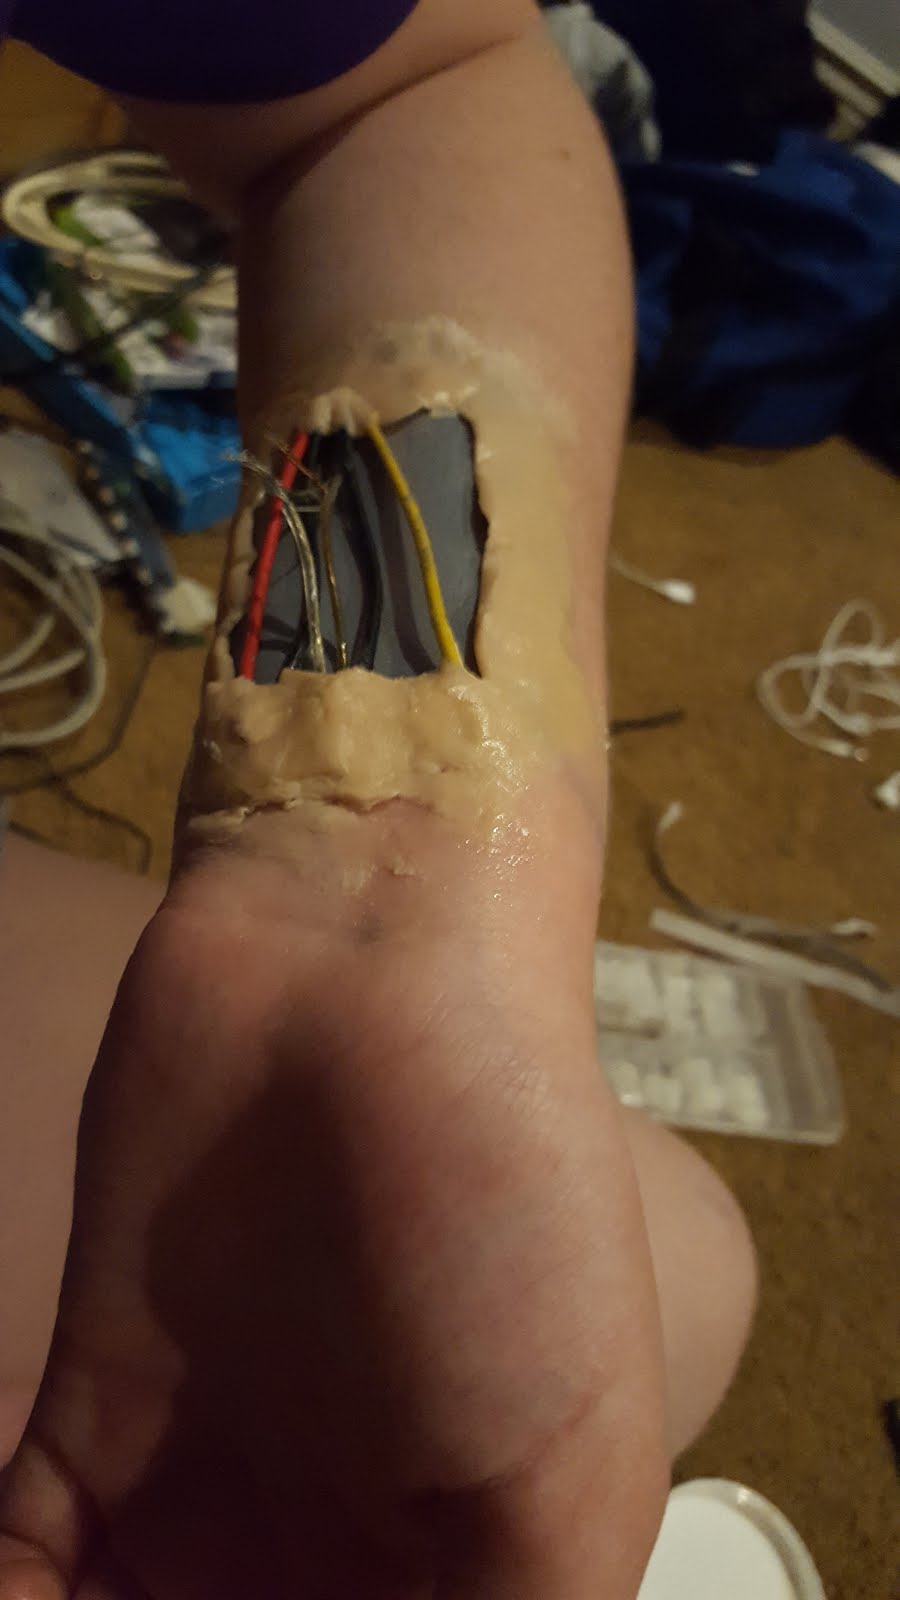
Back to makeup! I've done two things this week. One is a concept for my cyberpunk idea, which I tested out this evening and which was more planning than actual final product. I didn't do much to match the colour of the wax to my skin tone, so it's a little obvious it's an applied piece, but like I said, it's more a proof of concept than anything. If I have time to revisit that particular idea, I'll make it more neatly.
Here it is, below:


I have other plans for a face piece, and also possibly more, if I can get my model's time again.
Because it was so rough, I didn't do a step-by-step, but the whole thing is pretty basic: gray paint with blue sparkles to make it look metallic, with a border done in wax. The wax was also enough to hold the wires in place, so I didn't really need any adhesive for this.
As for the other piece, I had a friend over for the weekend, so of course I had to do her nails.

(Thanks again to Skye!)
I did take more step-by-step pictures for this one, but there were very few steps. First, I had to cut fake nails to the size and shape of my model's, then cut any breaks or cracks I wanted to have. That, I took no pictures of, but in a few other, closer pictures, where I cut is more visible. I coloured the area around the actual nails red, with dark red at the place where skin meets nail, then glued them down with eyelash glue on the fake nails and gel blood over her nails- it's thick and sticky, so it actually worked quite well, for the short time she had them on, and it had a bonus effect later on, which I'll show.
Here's just the nails, without the zombie colour to her skin.
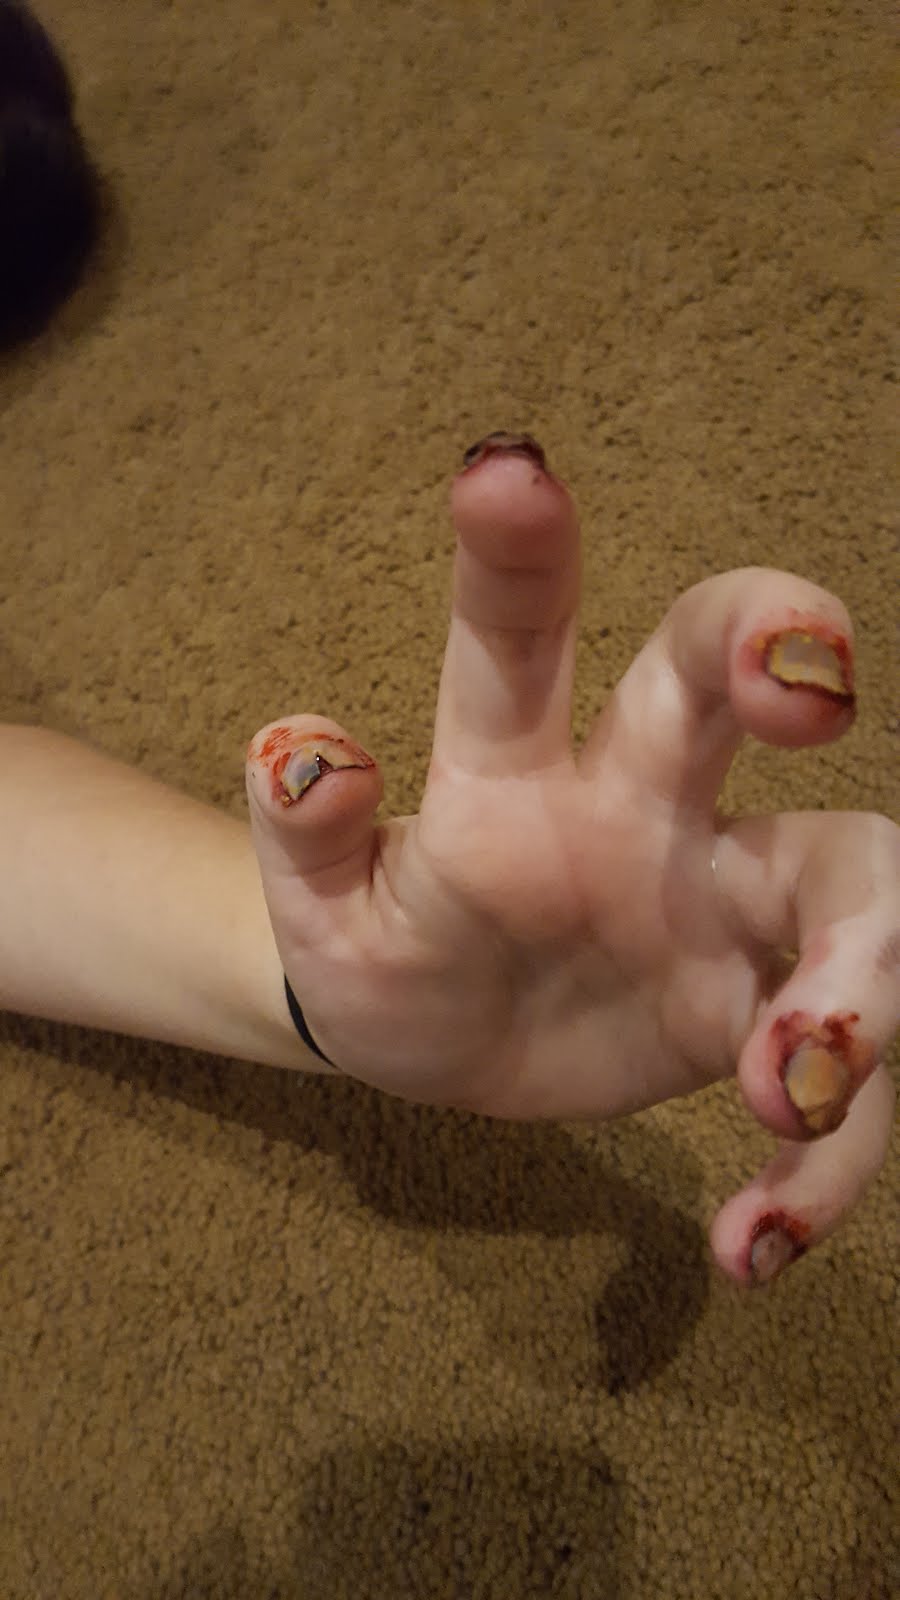


I also added some black around the edges of the nails and the cracks before I put them on her, to make them look dirty, and added a mix of red, yellow, and purple to give them the right colour and make them more opaque.
Here's a few more with the zombie colour I added to her skin (a mix of green and purple):


And without the nails:


All in all, this week was pretty productive, in terms of makeup concepts. I've also been told that if I wanted to make the above friend fully into a zombie, I could- if I have the time to, that will either be on my blog or in my presentation!
Thanks for reading, and sorry this is so late: I had some problems getting the pictures to the right place this week.
These are awesome! I especially love the cyberpunk arm!
ReplyDeleteThese effects are incredible. I wouldn't even know where to begin for most of these. Nice work!
ReplyDeleteI think the cyberpunk look may be one of my favorites so far! I would be thrilled to see a full zombie look. It would be interesting to see all of your different techniques used, which products worked best, and the time frame it takes you.
ReplyDeleteHave you spoken with any of the makeup artists at your internship site to see if they have done zombie makeup effects (or similar) before. They might have some tips for you!
Thank you!
DeleteThere's actually not really a makeup artist at Desert Stages. People mostly do their own.
Happy birthday Hannah!
ReplyDeleteHappy Birthday Hannah!! These effects look amazing! If you could find the time, I would love to see a full zombie look.
ReplyDeleteHappy Birthday! How do you come up with these designs? Do you ever sketch it out or do you just improvise it? Looking forward to full zombie event.
ReplyDeleteThank you! Honestly, both of these were based on nothing but a vague idea I figured out as I worked. I actually tested my nail idea on myself first on one nail to make sure it wouldn't fail before I put it on her.
ReplyDelete